The Stand
 DIY built stand of my 125G tank.
Similar to the canopy, the stand for this 125G tank is modeled on one that I bought from Glasscages for my 240G tank. When discussing the Glasscages stand, I actually marveled at the fact that the stability of the stand relies almost exclusively on the stability of the 3/4" plywood itself, and is missing a structural framework 2x4s or similar lumber. I also wondered if anybody would be bold enough to attempt building such a tank DIY. Well, I wasn't. 2x4s are cheap, and saving weight wasn't a significant consideration for me either, since I built the stand right in my house and didn't have to ship it anywhere. The only time I regretted my decision was when I had to lug the stand from the garage where it was built upstairs to the location of the 125G on the first floor. The thing seemed to weigh several times what I remembered from the Glasscages stand - for a tank of about half the size! But what's 5min of agony compared to everlasting peace of mind! I am sure I could stack ten 125G tanks on this stand and it would not buckle 🙂
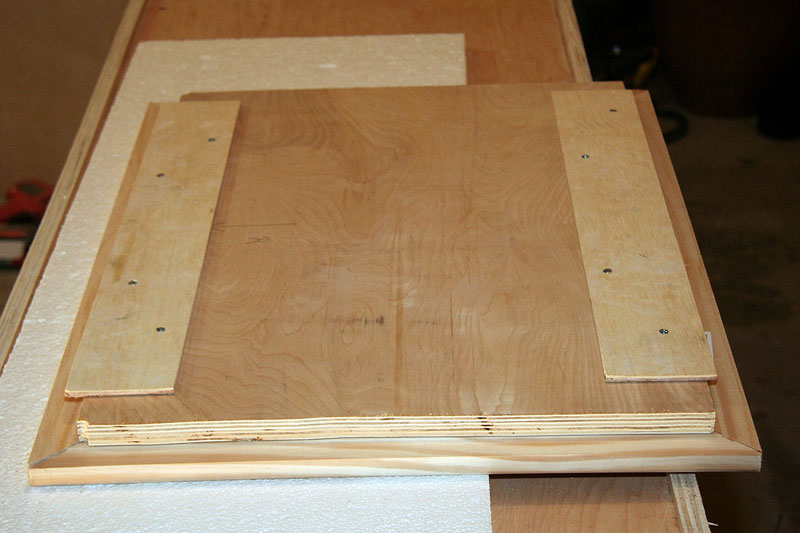
The following photos show step-by-step how the stand was built. I am not including measurements, since your tank might be ever so slightly different from mine, and you can actually use the photos as a guide to built a stand for a tank of pretty much any size with the appropriate modifications.
When I built the stand my dad happened to be visiting from Germany, and it was great to have him there to give me a hand with the project. Many thanks, Dad! You can actually see him in a couple of the photos, and he took the ones in which you can see me.
Just a few more details:
DIY built stand of my 125G tank.
Similar to the canopy, the stand for this 125G tank is modeled on one that I bought from Glasscages for my 240G tank. When discussing the Glasscages stand, I actually marveled at the fact that the stability of the stand relies almost exclusively on the stability of the 3/4" plywood itself, and is missing a structural framework 2x4s or similar lumber. I also wondered if anybody would be bold enough to attempt building such a tank DIY. Well, I wasn't. 2x4s are cheap, and saving weight wasn't a significant consideration for me either, since I built the stand right in my house and didn't have to ship it anywhere. The only time I regretted my decision was when I had to lug the stand from the garage where it was built upstairs to the location of the 125G on the first floor. The thing seemed to weigh several times what I remembered from the Glasscages stand - for a tank of about half the size! But what's 5min of agony compared to everlasting peace of mind! I am sure I could stack ten 125G tanks on this stand and it would not buckle 🙂
The following photos show step-by-step how the stand was built. I am not including measurements, since your tank might be ever so slightly different from mine, and you can actually use the photos as a guide to built a stand for a tank of pretty much any size with the appropriate modifications.
When I built the stand my dad happened to be visiting from Germany, and it was great to have him there to give me a hand with the project. Many thanks, Dad! You can actually see him in a couple of the photos, and he took the ones in which you can see me.
Just a few more details:
- The stand is about 30" high, and I would not go any lower than this, because you are later going to be grateful for that clearance regardless if you want to use a sump system for filtration or a big canister filter like my Eheim 2260.
- The 2x4 framework is put together using drywall screws that go right through one 2x4 into another. No glue or other means to were needed to complete the framework.
- The side panels are made from 3/4"plywood, mainly because in my area that is the cheapest furniture grade plywood available. If you can get 1/2" plywood cheaper, it will be just fine. In fact, I believe even 1/4" plywood would do the job.
- Short drywall screws were used to attach the plywood side panels to the 2x4 framework. This leads to some visible screws at the front of the cabinet. If that bothers you, you could easily attach the side panels using glue, such as Liquid Nails.
- One thing that's hard to see in the photos is that you need to round the edges at the top and bottom of the openings at the front so the lift-off doors can slide into place. You can see me doing that using a sander in on of the photos, and the next picture attempts to show the rounded edge at the top, seen from the inside of the cabinet.
- I let the side panels of the cabinet stick up higher than the top panel just enough to hide the 1/2" styrofoam on which the tank rests. What I forgot about is that you really want the side panels to reach up high enough to cover the frame of the tank. In my case that was one of those fake oak frames, which didn't match the color of the stand at all. It looks ok now, but I had to patch the situation up with more trim pieces than I might have needed had I though out the issue a bit more before picking up a saw.
- Regarding the advantages of the lift-off doors, details about the varnishing, and the cabinet lighting, please see the page about the stand of my 240G tank.
- Here is how the lift-off doors work. You insert the top first, making sure the 1/4" piece of plywood slides behind the cabinet wall. Then you insert the bottom. The distance between the very top and bottom of the 1/4" pieces of plywood has to be shorter than the height of the opening in the stand to allow you to do this. Once in, the door will slide down and into place. Since the lip created by the top piece of 1/4" plywood is longer than the one at the bottom, the door will still be held in place. If you want to take it back out, you have to lift up the whole door slightly, and then take out the bottom first. It soundsmore complicated than it is, and is well worth the effort if you ever need to do work in the cabinet, because you will have the doors completely out of the way.
- If you like the look of the stand, but don't have the time or skill to built one, they are available from Glasscages, and I can highly recommend them!


Leave a Reply
You must be logged in to post a comment.
