The Canopy
I made the canopy for my 125G tank modeled on a canopy I bought from Glasscages for my my 240G tank. If you like the design, but don’t have the time or the confidence in your woodworking skills to built one, that’s were you can get it. They make these canopies for pretty much any size tank. If you do want to go the DIY route, you can also alter the design to fit your tank. In my opinion the design lends itself to tanks of 5′ and over. For smaller tanks a simpler construction, for example without the center support and with just one door would be more appropriate, but that could also easily be done.
I am very happy with the Glasscages canopy on my 240G, but I made some changes in the design of the DIY canopy. Most importantly, the very top of the Glasscages canopy is made from two sandwiched sheets of ¼” plywood that have 1.5″ airspace between them. I am not quite sure why that is, but I prefer my simpler design with a single ½” sheet of plywood instead of the sandwich. The top ¼” sheet of plywood on my 8′ tank is never perfectly even, but the ½” sheet of plywood on my 6′ tank is.
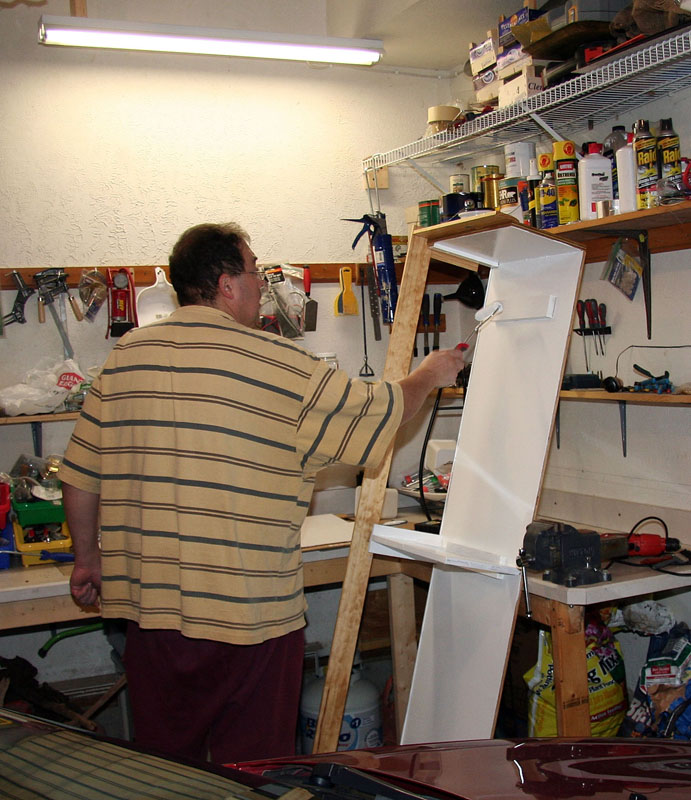
Unfortunately when building the canopy I was too caught up in the process to take a lot of pictures, and the first ones I took are of me painting it – actually, my Dad took that photo. The inside of the canopy is painted in the glossiest white I could find to maximize light reflection into the tank. The outside has not been stained, but is simply varnished with clear semi-gloss Helmsman Spar Urethane made by Minwax. It is suitable for both, indoor and outdoor use, which seemed to promise a good chance for sufficient moisture protection, while at the same time not releasing too many toxins into the atmosphere that might find their way into my tank water. I like the way the semi gloss varnish brings out the natural wood grain, but of course you could also stain the canopy to match your furniture.
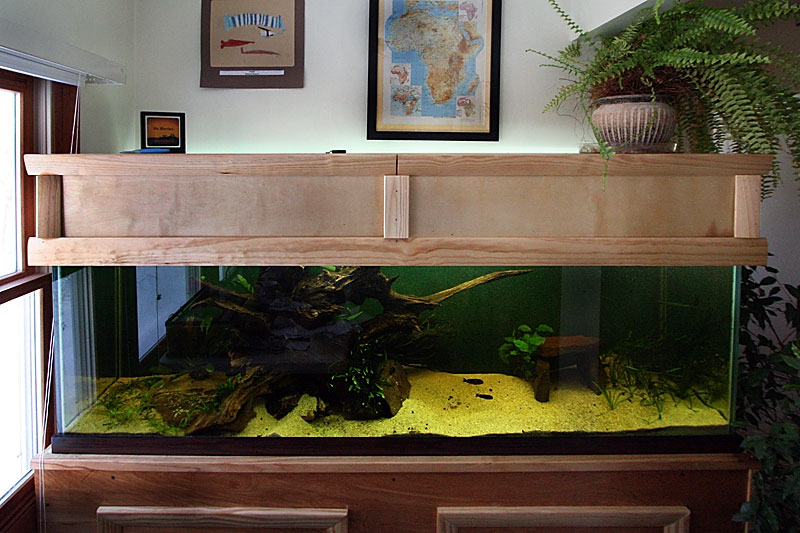
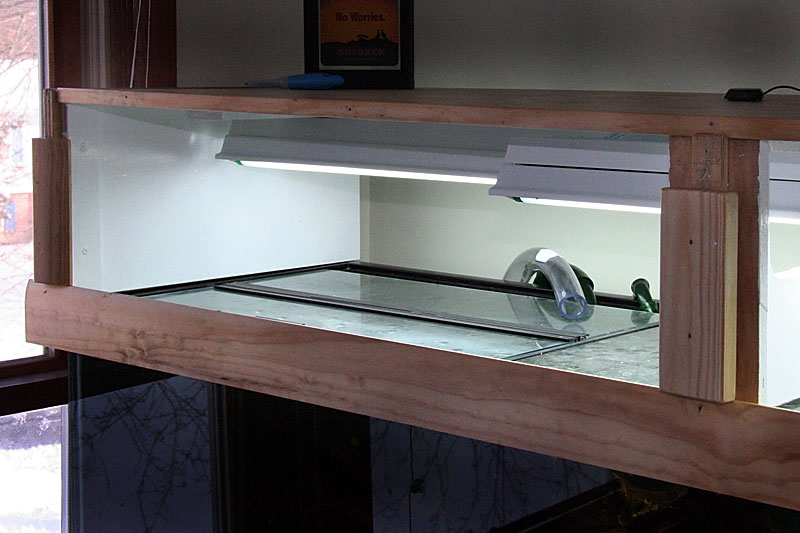
Anyway, the photos on this page show mostly the finished product, and I explain how it was put together. Here is the completed canopy with the lighting installed. By the way, I give all the details about the lighting I use in the section about my 240G, and you can see here that it works well for a 125G tank too.
The very top of the canopy is a single sheet of furniture grade ½” plywood. At least in my area ½” plywood is quite a bit more expensive than ¾” plywood and even ¼” plywood, but I used it because, unlike ¼” plywood, it is pretty safe not to warp. It also saves a lot of weight over ¾” plywood. This weight would rest on the tank and put strain on it. For the sides and the middle support I used ¾” plywood, because the canopy sits on the tank with the bottom of these boards, and it is nice to have a bit more contact area there. The middle support needs to be cut into a U-shape using a jigsaw in order to leave space for lighting to be installed.
The front doors, which can be completely lifted off the canopy by sliding them upwards, are made from ¼” plywood to save weight.
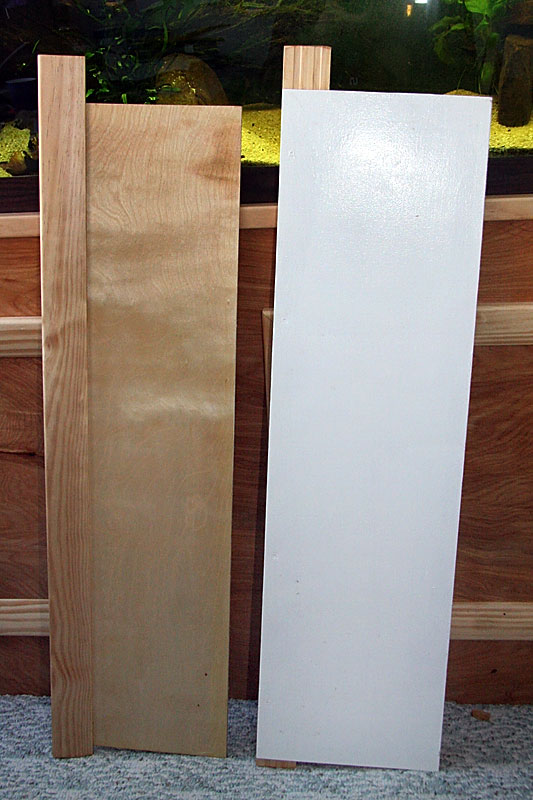
I don’t own a router, so for the rest of the canopy I used finished wood trim pieces I found at the hardware store. I didn’t want these to break the bank, and it seems the more common their application, the cheaper they are. The top of the front doors is made from the wood trim that is commonly found around the doors and windows of houses. It is about 2 1/8″ wide, not that the exact width really matters, but it looks good, and it is cheap. The side pieces that the doors slide behind are made from the same material.
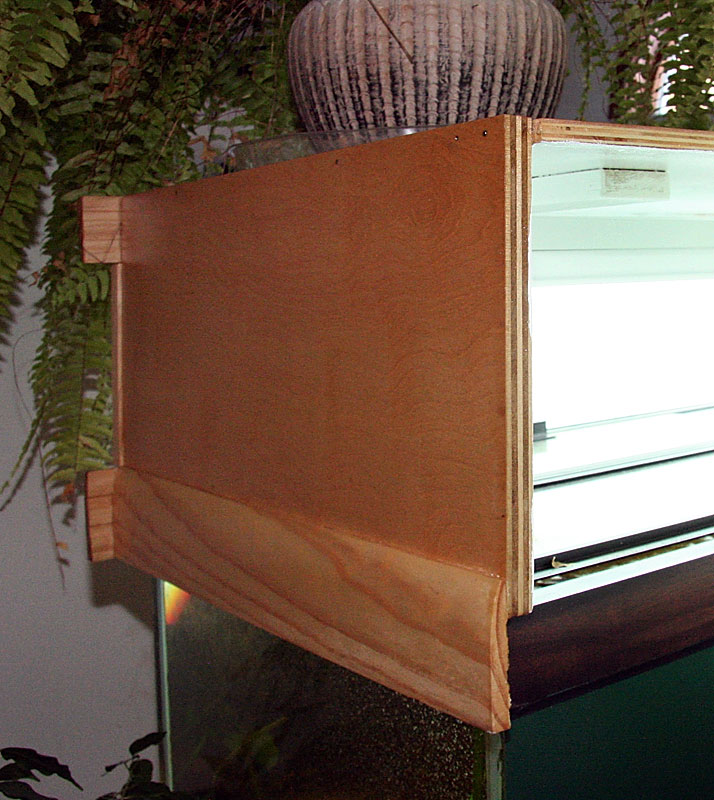
The bottom rim of the canopy is made from 3″ skirting board – also referred to as base board or mop board. The bottom rim on the canopy is not just decorative, but has a vital function in preventing the canopy from sliding backwards or sideways off the tank.
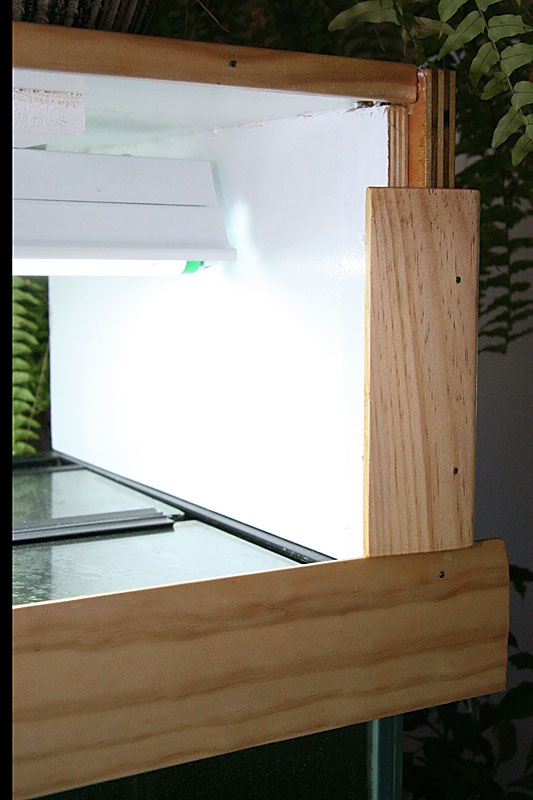
Along the front of the top plywood board of the canopy is a little ¾” wide trim piece. It was not in my initial plan for the canopy and it isn’t really needed, but I made the gap for the doors to slide into a little wide, and I managed to close it with that trim piece. As it turned out, it also makes the canopy look a little nicer when the doors are removed.
The pieces that hold the doors in place from the back are made from ½” plywood. For the piece holding the doors in place in the front, center of the canopy I chose a ¾” thick, 2.5″ wide piece of solid pine with a nice wood grain. This piece is pretty central to the look of the finished canopy. I didn’t want anything frilly, but if you are into the carved stuff, you could go all out here!
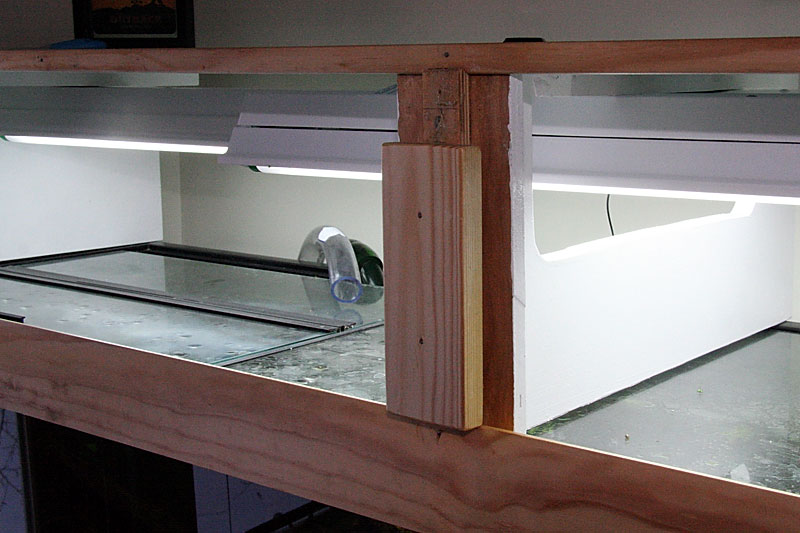
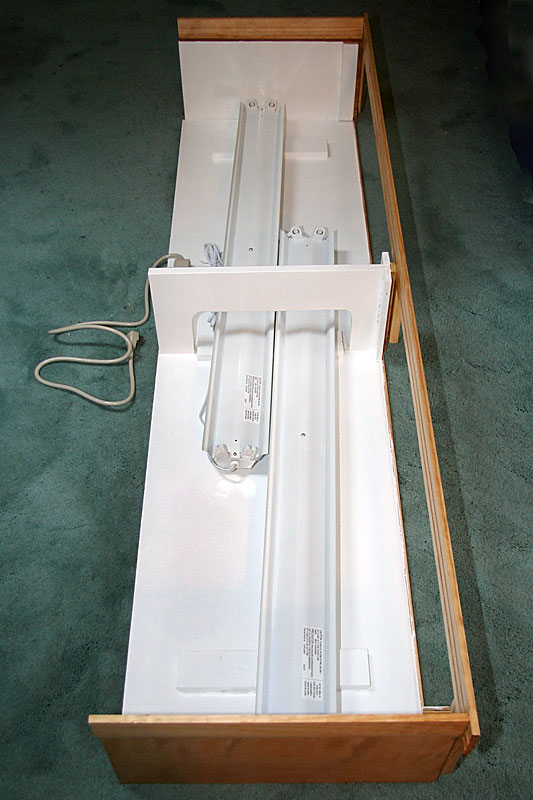
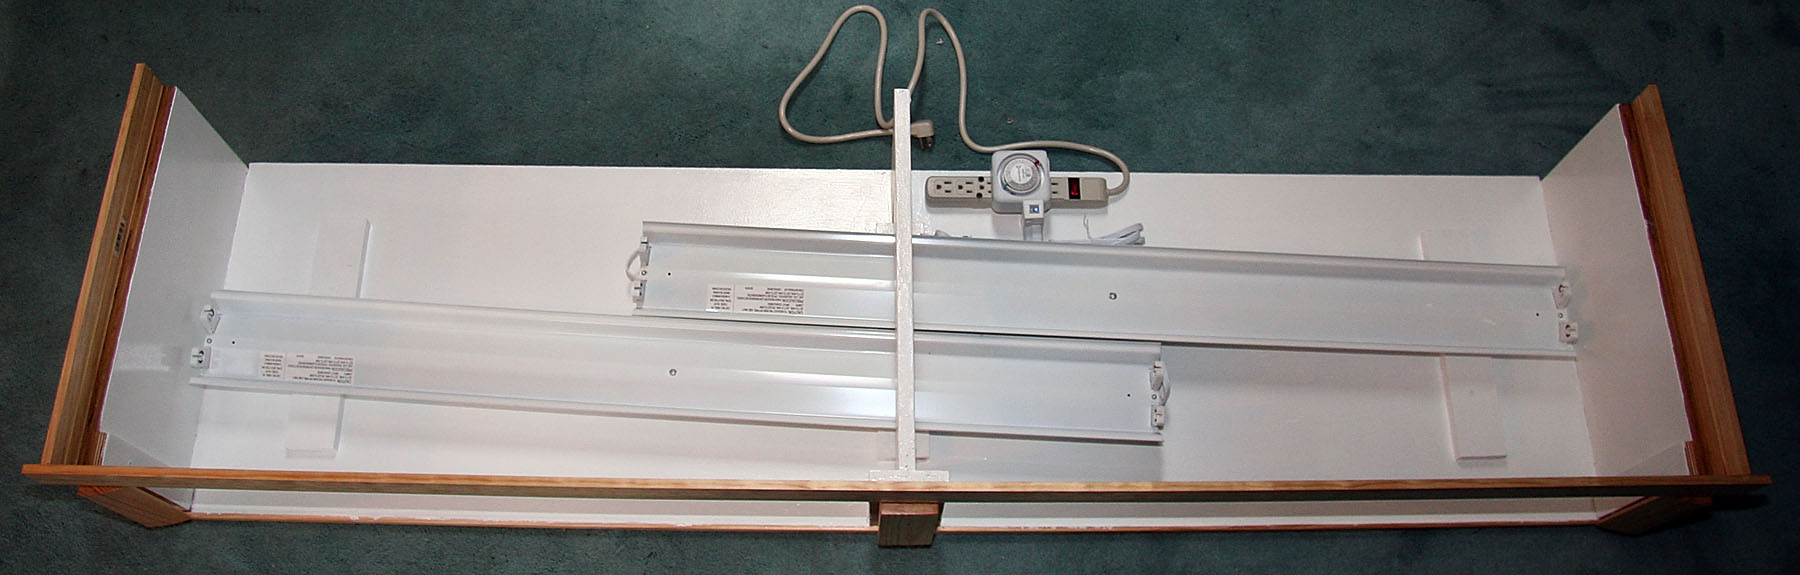
A final picture of the inside of the canopy with the lighting installed.
Leave a Reply
You must be logged in to post a comment.
